
This weeks Blog Post is based around my new etsy wooden wall art listings. I am going to take you step by step on the development of these simple, yet detailed home wall art decor plaques!
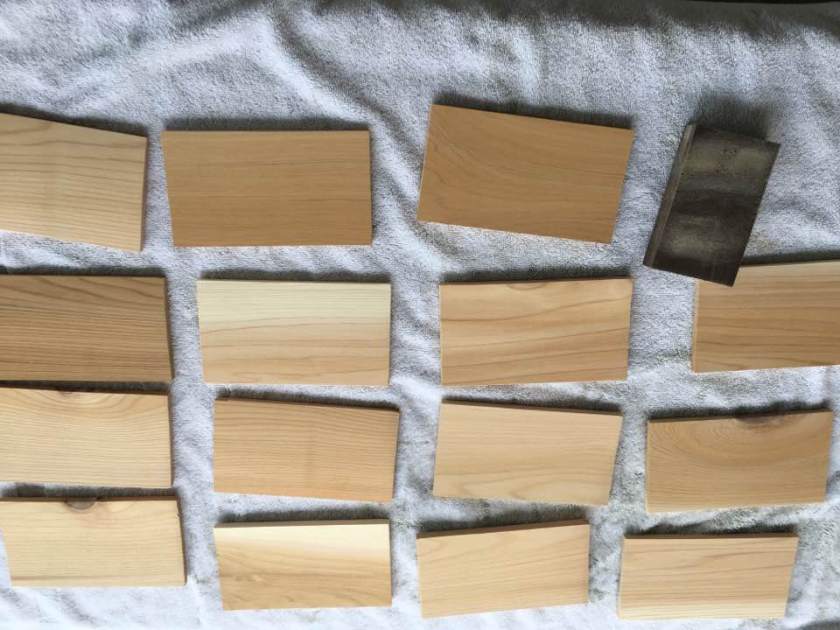
So I was planning my next project in my studio and I was starting to narrow down the search. I wanted something that was appealing, creative and above all unique. I’ve worked with wood in the past and it is by far one of my favorite materials. I love the rustic feel and look of wood art! I decided to try my hand at developing some new wooden signs that you could hang up in your living area to be used as home decor. I decided to go small with 4″x7″ wooden planks in order to expand the potential placements of the wooden art decorations. With a smaller product you could hang it in various places such as above your coffee pot, on your refrigerator or if you wanted to decorate a small bathroom area you could make that happen as well! So I ordered all the materials listed below!
- 4″x7″ wooden planks. -Used primarily for cooking fillets of Salmon and Steak Cuts-
- Super Glue
- Mod Podge
- Twine
- Sanding Block
- White Paint
- Bobby Pins
- 4×4 Still Nature Photography Prints
- State of Georgia Template
- Sharpie Markers of Various Sizes
Step One
Utilize the sanding block to sand down edges of wooden planks. Note: Make sure sanding block is not too rough, but rough enough to leave a smooth finish around corners and edges.
Step Two
Use a paint brush to paint the wooden planks. Note: Make sure to cover both sides as well as edges and corners. This is by far the messiest and most time consuming portion of the craft so plan accordingly.

Step Three
Wait for paint to dry and then use Mod Podge to paste the image onto the newly painted wooden planks!

Step Four
Utilize the remaining white space on the wooden plank by tracing a symbol next to the image . After it is dry put another coat of Mod Podge on top of the entire plank in order to seal the image.

Final Step
Now the tricky, yet creative process of attaching the twine to make your wood art officially a hanging wood art piece! I really had to think about the proper solution to the problem of hanging my wood art, and I believe my solution is both crafty and creative. I decided to use bobby pins. I would have never guessed that bobby pins would be my solution, but they worked so perfectly. I used super glue to both glue the bobby pins to the back of the wooden planks and also glue the twine to the bobby pins themselves. It turned out that 10” of twine was the perfect amount to cut off for the mount! It was a hilarious, yet confident end to a day of crafting and I am so happy with the finished product.


So there you have it a new etsy listing is born! I hope you enjoyed my short yet revealing insight into my esty studio! Please take a look at my recently updated website http://www.stillnautrellc.com as well as my store!>> https://www.etsy.com/shop/StillNatureLLC


